If you are thinking of ways to transform your classes, then consider the possibility of communicating and collaborating beyond your classroom walls. A great resource that can help you accomplish this goal is Skype in the Classroom . You'll find hundreds of lessons already created that you can participate in. Choose by subject area, age group, country, etc. Don't find what you're looking for? No problem. Create your own content. That's what first grade teachers did this year. First grade teachers Ms. Mireya Almaguer and Ms. Claudia Martinez were looking for an opportunity to interact with classes from other parts of the world. Early in the start of the school year, first grade focuses on the Mapping Unit. In it they learn about such topics as directions, the compass rose, legend, and locating parts of a map. A project they work on is creating the map of what would be the students' ideal classroom or school. At this time, they were looking for partn...
Hi everyone! I've spent these past few days searching for off-campus professional development opportunities for teachers at my school that might be interested in going to. What am I looking for? Events that focus on Technology Integration, Technology and Education, Innovation, 21st Century Learning, etc. Events that are at a reasonable distance from our current location. I've personally attended ISTE , TCEA, and GAFE conferences and can say that these kinds of experiences are one of a kind! Why should you go? Stay updated on the latest in tech integration and innovation. Learn from fellow educators. Develop your professional network. Get inspired to produce a change. Stay informed on what other schools are doing. Meet rockstars in the education field! Below is a table with the information I've gathered for events that will take place within this school year. I wish I could go to all, they all sound fantastic! If you know of anothe...
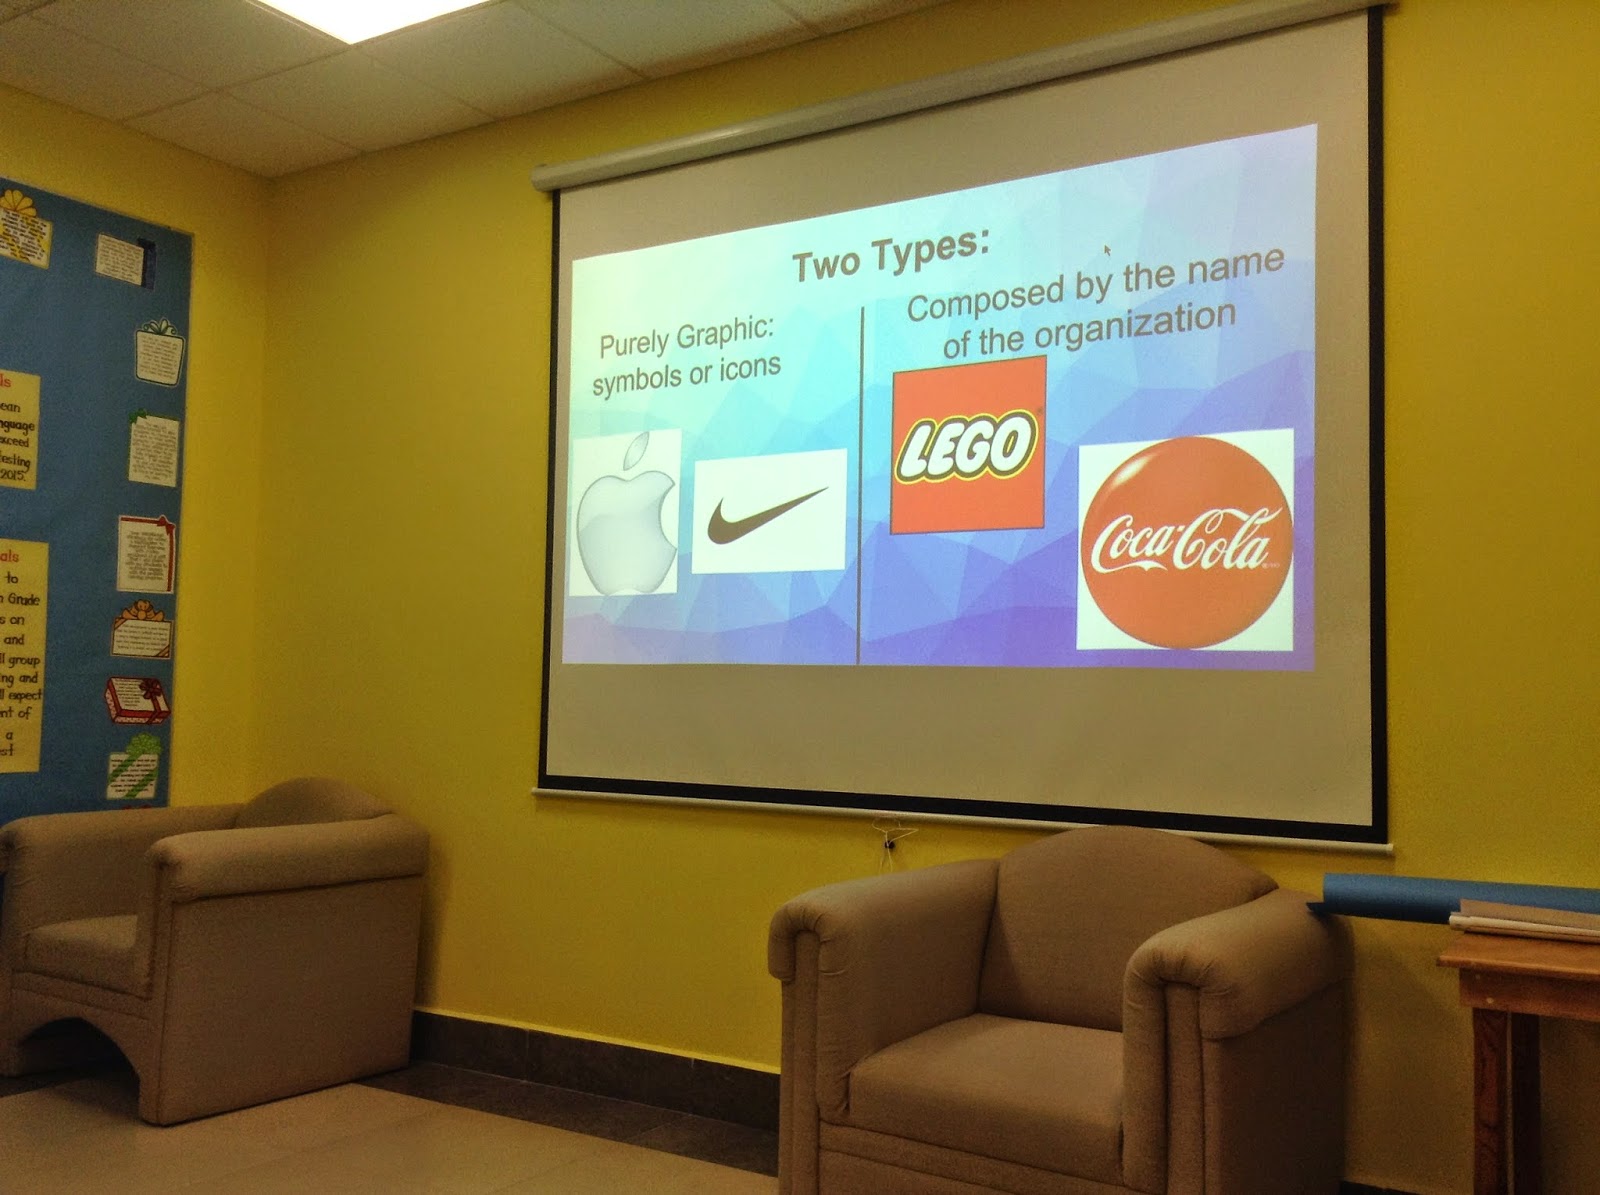
The Elementary digital teachers (DTs) were presented with a challenge during one of our meeting times. They had to work on designing a logo and a “we believe” statement that would represent our DT program. At this time, the activity was led by Gaby, one of the DTs. Day 1: Gaby used her experience with logo design to introduce what a logo is and how the color selection is key as it may evoke different feelings. Teachers were partnered up and followed these guidelines: Create a logo and “We believe…” statement that represents the DT Team. Use/combine creation tools such as Google Drawing or Logo Garden for the logo. Consider the emotions generated by colors in logos . Take a screenshot of your logo and insert it onto a slide in a shared Google presentation (see below). Day 2: Once all the groups had submitted their logo and statement, the next steps were to share, persuade, and vote. Talk with your Logo team partner. Choose a spokesperson. Present your log...


Comments
Post a Comment